sphinx/coreseek的安装配置
windows下全文检索引擎sphinx/coreseek的安装配置
安装教程使用的coreseek4.1,下载地址:http://download.csdn.net/detail/wangshaner1/6202993
这个是我的coreseek.conf 配置文件。
1 2 3 4 5 6 7 8 9 10 11 12 13 14 15 16 17 18 19 20 21 22 23 24 25 26 27 28 29 30 31 32 33 34 35 36 37 38 39 40 41 42 43 44 45 46 47 48 49 50 51 52 53 54 | #源定义source mysql{ type = mysql sql_host = 192.168.0.200 sql_user = root sql_pass = sql_db = tpshop_bbc sql_port = 3306 sql_query_pre = SET NAMES utf8 sql_query = select goods_id, cat_id1, on_time, goods_name, goods_remark FROM tp_goods #sql_query第一列id需为整数 #title、content作为字符串/文本字段,被全文索引 sql_attr_uint = cat_id1 #从SQL读取到的值必须为整数 sql_attr_uint = sql_attr_uint = sql_attr_timestamp = on_time #从SQL读取到的值必须为整数,作为时间属性 sql_query_info_pre = SET NAMES utf8 #命令行查询时,设置正确的字符集 sql_query_info = select * FROM goods WHERE goods_id=$id #命令行查询时,从数据库读取原始数据信息}#index定义index mysql{ source = mysql #对应的source名称 path = D:/www/coreseek/var/data/mysql #请修改为实际使用的绝对路径,例如:/usr/local/coreseek/var/... docinfo = extern mlock = 0 morphology = none min_word_len = 1 html_strip = 0 #中文分词配置,详情请查看:http://www.coreseek.cn/products-install/coreseek_mmseg/ #charset_dictpath = /usr/local/mmseg3/etc/ #BSD、Linux环境下设置,/符号结尾 charset_dictpath = D:/www/coreseek/etc/ #Windows环境下设置,/符号结尾,最好给出绝对路径,例如:C:/usr/local/coreseek/etc/... charset_type = zh_cn.utf-8}#全局index定义indexer{ mem_limit = 128M}#searchd服务定义searchd{ listen = 9312 read_timeout = 5 max_children = 30 max_matches = 1000 seamless_rotate = 0 preopen_indexes = 0 unlink_old = 1 pid_file = D:/www/coreseek/var/log/searchd_mysql.pid #请修改为实际使用的绝对路径,例如:/usr/local/coreseek/var/... log = D:/www/coreseek/var/log/searchd_mysql.log #请修改为实际使用的绝对路径,例如:/usr/local/coreseek/var/... query_log = D:/www/coreseek/var/log/query_mysql.log #请修改为实际使用的绝对路径,例如:/usr/local/coreseek/var/... binlog_path = #关闭binlog日志} |
配置完成安装下面操作即可:
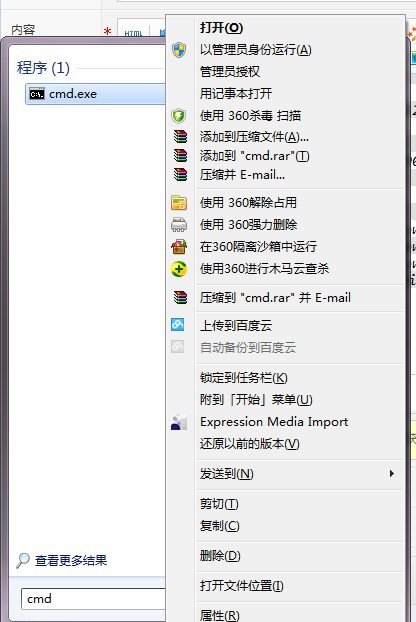
1.点击开始按钮输入cmd ,右键cmd.exe 以管理员身份运行,cd到解压出来的coreseek文件下

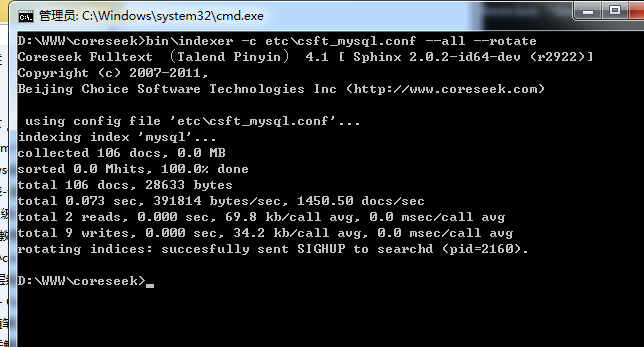
2.建立索引
bin\indexer -c etc\csft_mysql.conf --all (第一次建立索引)
bin\indexer -c etc\csft_mysql.conf --all --rotare (重新建立索引)
3.查询
bin\search -c etc\csft_mysql.conf xxxx
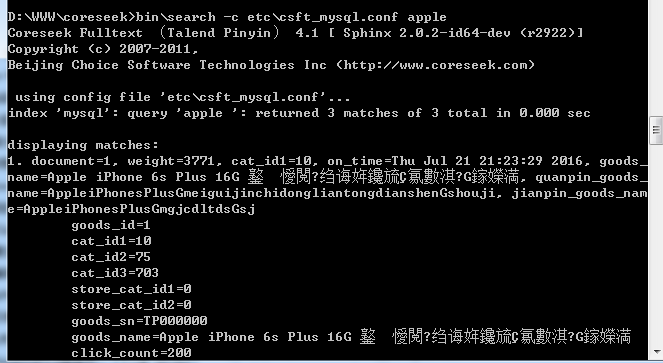
xxxx就是你要查询的内容,dos下最好只查询英文内容,因为dos下由于编码原因,不一定能查询出来。
dos下的查询主要是起到测试的作用,真正的查询应该还是要通过调用API
4.searchd 安装成为一个服务(之后可以关闭dos窗口使用)
bin\searchd --install --config d:/www/coreseek/etc/csft_mysql.conf
操作完成后打开搜索页面测试就可以了
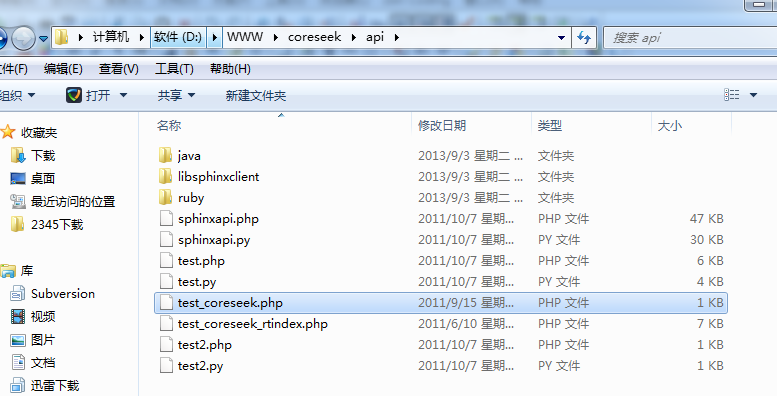
5.示例代码 位于coreseek/api/test/coreseek.php
linux下全文检索引擎sphinx/coreseek的安装配置
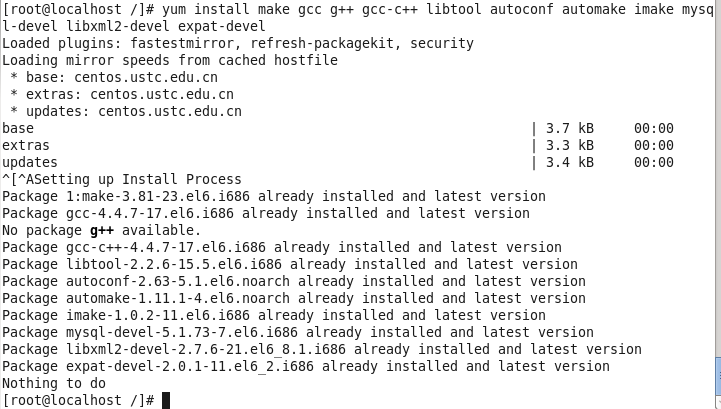
1:安装coreseek之前需要先安装需要预装的软件:
yum install make gcc g++ gcc-c++ libtool autoconf automake imake mysql-devel libxml2-devel expat-devel ; (注:这是centos 64位的)
如果出现(segment fault)段错误,是yum的配置源版本不对,或者是安装的软件版本不对。
2:安装教程使用的coreseek4.1,下载地址:http://download.csdn.net/download/dl425134845/9535621
把下载先来的coreseek-4.1-beta.tar.gz放在/usr/local/src目录下
然后解压缩该源码包。执行命令:tar zxvf coreseek-4.1-beta.tar.gz,绿色代表解压出来的文件夹。

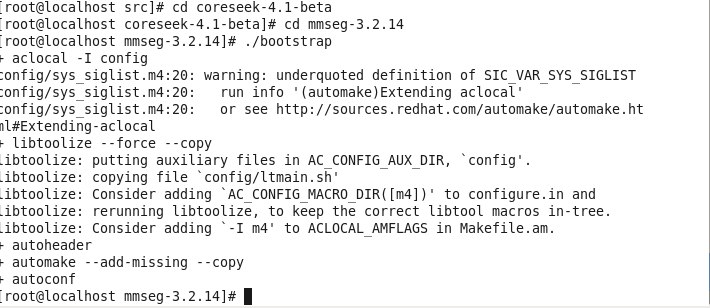
3:进入到mmseg-3.2.14目录,在该目录中运行./bootstrap 命令。
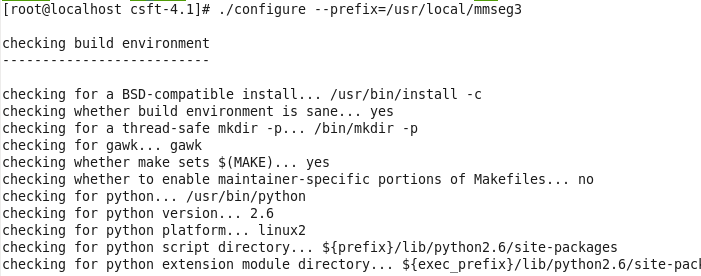
4:指定安装coreseek安装路径,命令如下
./configure --prefix=/usr/local/mmseg3
5:实际安装coreseek。命令如下
make &;&; make install
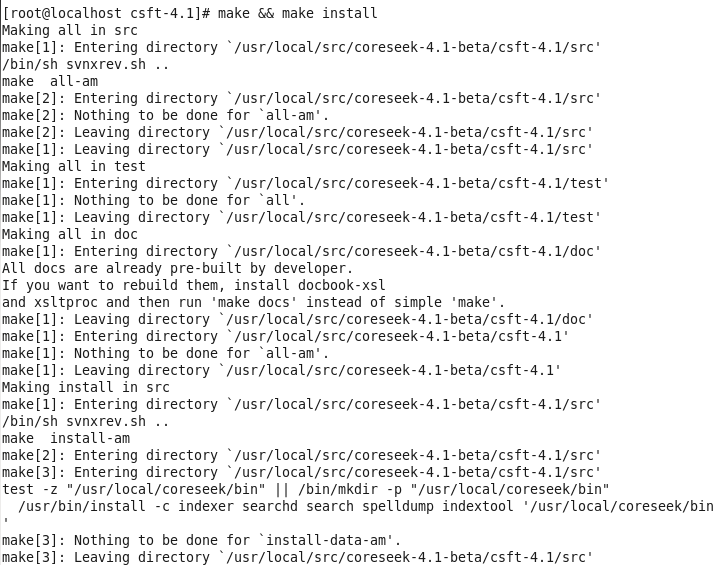
在/usr/local/文件夹中生成了mmseg3文件夹
6:测试coreseek的分词效果
进入到/usr/local/mmseg3/bin 目录中,执行如下命令
./mmseg -d /usr/local/mmseg3/etc /usr/local/src/coreseek-4.1-beta/mmseg-3.2.14/src/t1.txt

7:安装coreseek
回到coreseek-4.1-beta目录,进入csft-3.2.14里,执行编译配置,命令如下:
sh buildconf.sh

没问题,执行命令
./configure --prefix=/usr/local/coreseek ; --without-unixodbc --with-mmseg --with-mmseg-includes=/usr/local/mmseg3/include/mmseg/ --with-mmseg-libs=/usr/local/mmseg3/lib/ --with-mysql
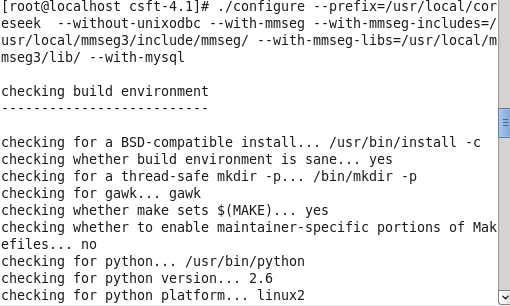

编译安装
make &;&; make install
完成安装
8:测试coreseek
去到testpack目录
cd ../testpack
然后如下执行命令
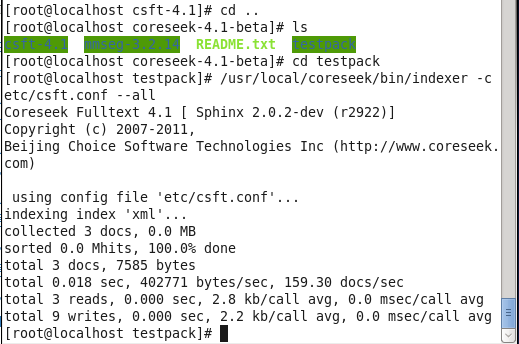
/usr/local/coreseek/bin/indexer -c etc/csft.conf --all
##以下为正常索引全部数据时的提示信息:
9:配置coreseek支持mysql数据源
配置csft_mysql.conf文件,复制mysql配置文件到coreseek安装目录etc/下
cp /usr/local/src/coreseek-3.2.14/testpack/etc/csft_mysql.conf /usr/local/coreseek/etc/
cd /usr/local/coreseek/etc/
vim csft_mysql.conf

然后根据注释配置,这是我的配置信息。
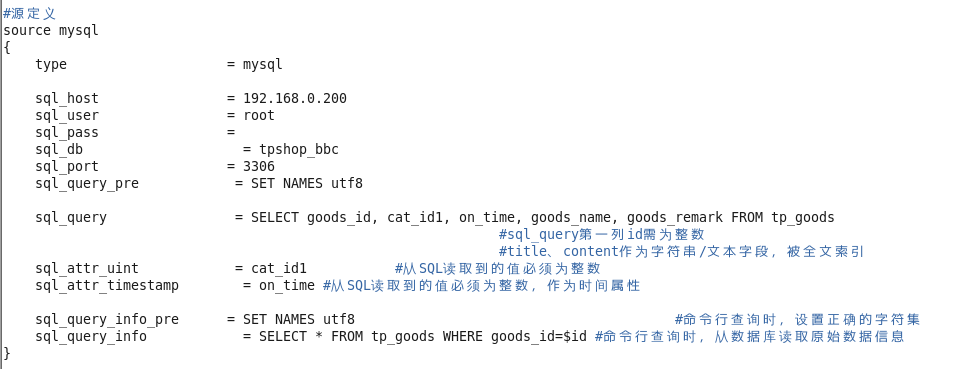

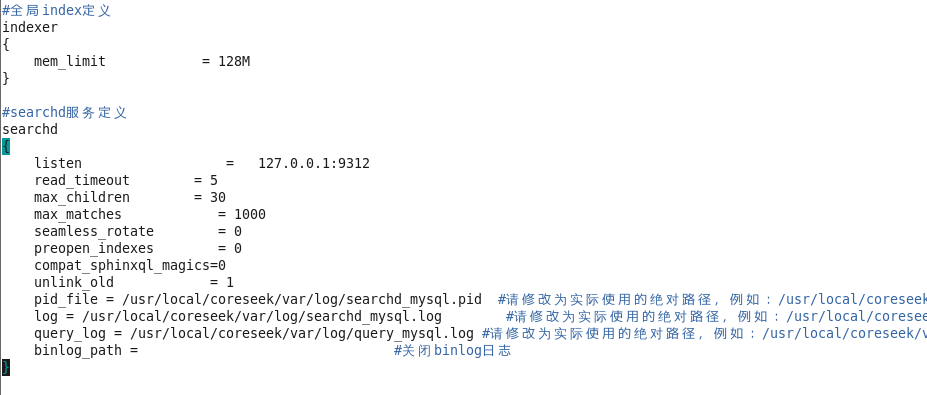
然后wq保存退出。
10:建立索引,执行如下命令
/usr/local/coreseek/bin/indexer -c /usr/local/coreseek/etc/csft_mysql.conf --all
如果提示:FATAL: failed to lock /usr/local/coreseek/var/data/xxxx.spl: Resource temporarily unavailable, will not index. Try --rotate option.

则尝试重建索引
/usr/local/coreseek/bin/indexer -c /usr/local/coreseek/etc/csft_mysql.conf --all --rotate ; ;重建索引
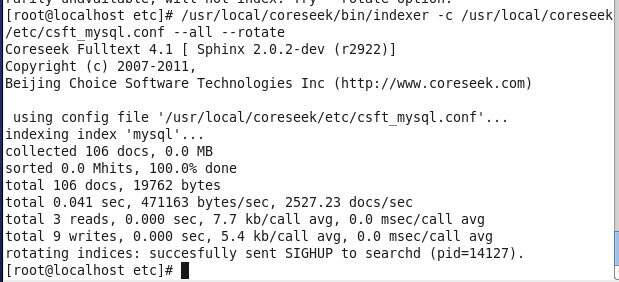
11:启动searchd后台服务模式
/usr/local/coreseek/bin/searchd -c /usr/local/coreseek/etc/csft_mysql.conf
/usr/local/coreseek/bin/searchd -c /usr/local/coreseek/etc/csft_mysql.conf ; --stop 停止服务

12:测试服务
/usr/local/coreseek/bin/search -c /usr/local/coreseek/etc/csft_mysql.conf apple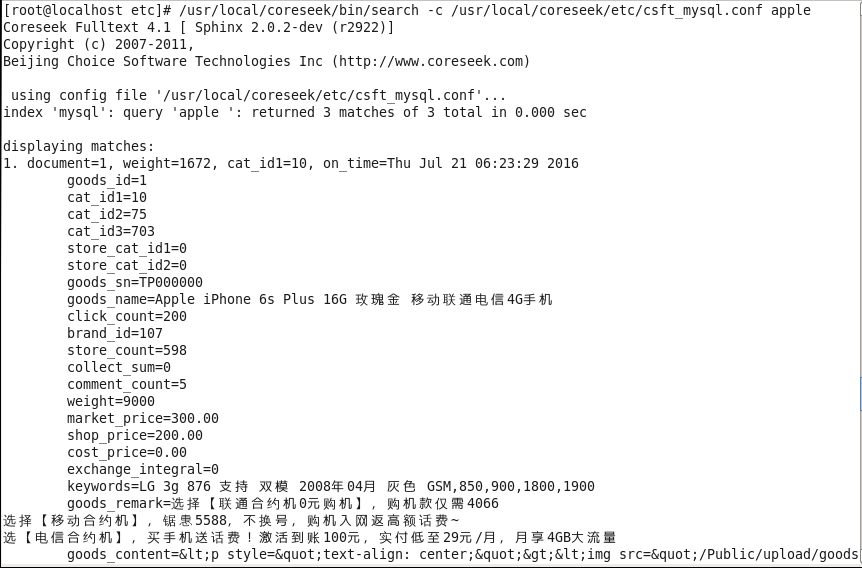
13:示例代码位于 /usr/local/src/coreseek-4.1-beta/testpack/api目录下的test_coreseek.php文件。
14:商城系统已集成代码进去,只需在商城系统根目录下的Application\Common\Conf目录下的config.php文件,把searchd服务端口配置好就可以使用了。

